It Just got 10x Easier to Check Trail Cameras, as the Cuddelink System Allows up to 15-Cameras to Link to One!
Do you manage a large property and don’t have the time to scout all of it? Do you want to decrease the pressure you put on your deer herd? Have you had to walk long distances from trail camera to trail camera to check the pictures that your trail cameras took? Here you are burning energy and leaving human odors in the spots that you hunt. Mature Deer don’t like the smell of humans and may cause them to only use your property at night. The Cuddeback Cuddelink trail camera system review will allow you to save time with hunting.
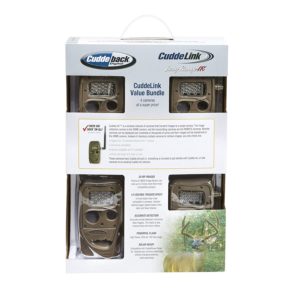
We have a lot of land to cover when it comes to checking trail cameras, with the Cuddeback Cuddelink System review we can do all of this in 1/4 of the time. This unique system allows you to link up to 15-trail cameras to one “Home” unit. All you have to do is check the home unit to gather all of the pictures takes by the other 15-trail cameras!
In this article we are going to review the Cuddeback Cuddelink Trail camera system, and show you some bonus features that you don’t want to miss out on!
Product Specs:
- 1-year standard warranty with the options to get a 2-year warranty online.
- 1/4 Mile reception range from one camera to another.
- 20 MP Images with a 0.25 trigger speed.
- 24- inferred led bulbs that allows up to 80ft at night time photo distance.
- Features a strap and a plastic mount for each Camera.
Unboxing:
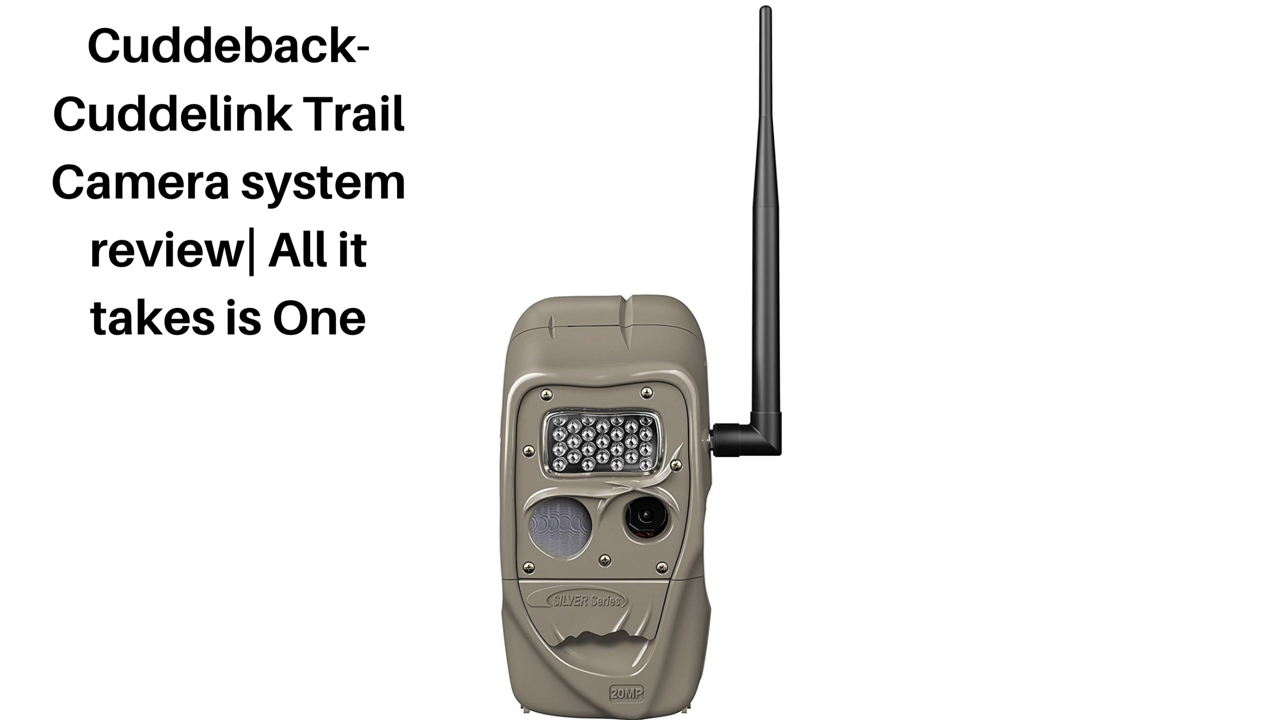
When you unbox the Cuddelink trail camera, you will notice the Trail Camera itself, the antenna, and a strap with a mounting bracket. All you have to assemble this Trail Camera is, screw in the antenna to the camera, and add batteries (not included) to it. This camera is very use friendly, as it is very simple to set up. You also have the option to use the mount with the strap or you can just mount the camera directly to the tree with a few screws (not included).
You will see that this is a very simple set up and will be an easy set-up for any hunter! The directions are also included, so if you have any issues you can refer to them. These cameras definitely are top of the line and change the game for any hunter that is looking for easy surveillance. The battery life of these cameras are about 2-months, but if you have it set on the 20-MP it will drain the cameras battery life quicker!
Why you would Use it:
The reason that you would use this item is for the convince of only checking one trail camera the “Home” unit. This will save you a ton of time, and is definitely a lot cheaper than paying for a cellular bill every month, but if you do want the pictures to be sent to your phone Cuddelink Trail cameras have the ability to do just that! Now if that’s not convenient I don’t know what is.
These Cameras are perfect for you if you are trying to hunt on larger parcels. This one allows you to check the closest camera the “Home” unit. All of the other “remote” cameras will relay the picture to the “home” camera. If you set your “home” camera up in an easy access area, then you will also collect the photos from all of the other cameras. A lot of people have trouble understanding how this works so we included a “how does it work” section that you can read through.
The last reason that I would choose these camera over any other, is because you can keep your scent out of the most important areas on your property. This will allow you to know what spots are getting the most movement without having to go in and pressure them. Over checking your cameras can lead to deer using your property strictly at night. Using the cuddlelink cameras you will only have to pressure your areas when you change the batteries every 2-4 months.
How it works:
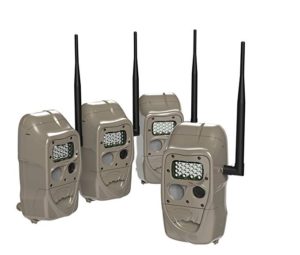
This is very important to understand the way these cameras work! So lets say you have 4-cameras, camera #1 is the closest and #4 is the furthest away. Each camera can be 1/4 of a mile away from another, so camera #2 can be 1/4 away from camera #1, and Camera #3 can be 1/4-mile away from camera #2, which is 1/2 -mile away from camera #1. You can span these cameras out up to a mile away from that home camera if you place them at the max distance. This is based on the poor reception, which would be in hilly, thick woods. With good service you could get 1/2-mile reception with each camera.
So now that you understand the distance, we can get to the transfer of pictures. Lets say camera #4 took a picture of a giant Buck, Camera #4 would then send that picture to camera #3, and then Camera #3 sends It to camera #2, and then to the home camera. Each camera sends it to the nearest to the “home” camera, using that signal to send it to the next closest camera or to the actual “home” camera.
There are a couple of “home” units that you can use. With the cellular system , the pictures are just sent to a “home” receiver that will then sent that image to your phone or email. The other “home” unit with the Cuddelink, is still and actual camera. I would again suggest putting this camera in an easy access location that you can still use to gain information, but leave a very low amount of pressure in that area. Make sure to have a good entrance and exit strategy to the camera.
Does it really work?
A lot of people question whether these trail cameras work or if they are worth their money! I have done a lot of extra research on these cameras and all of the reviews and videos that I have watched, no one has any major complaints. We will go over some Pros & Cons of these cameras below. We are certainly confident that these cameras work, as they have been perfect for me! I get great trail camera pictures and it is very easy to collect the images From the home camera.
We haven’t had any issues with connections, actually I have gotten a further reception range than 1/4-mile. We have collected a lot of pictures with these cameras, and they are all great quality. I also noticed something very important to my hunting. I had more daylight pictures than I have ever had before. We also have seen more deer in broad daylight than ever before. Not over pressuring the area by checking trail cameras every couple of weeks, is increasing the daylight deer movement on my property.
So yes, these cameras definitely work and I truly believe that you will get more pictures and see more deer in the daylight using this system wisely. Make sure to have the “home” unit in an easy access area so that deer won’t know you were there, and I can assure you that you will get more pictures in the daylight, regular deer will still be there regularly and maybe even show up earlier!
NOTE: For more information on trail camera scouting read the 7-Best trail camera Startegies Here!
Pros & Cons:
Cons:
- Size– One of the only complaints that I have heard is the size of the camera. Some think that it is a little big.
- Battery Life– If you chose to have the maximum quality of image sent to the “home” camera, it will burn the battery faster.
- No SD Lock– There is no way to lock the SD card, so it is open to anyone that chooses to look at it.
- No Lock– There is no way to lock the camera to the tree without a special mount (there is a package that has lock cables included for the camera). You can find the Cuddelink Lock Package Here!

Pros:
- Easy & convenient for checking Trail Cameras, especially on a large property.
- Save money compared to trail cameras that require a cell signal, with a monthly service plan.
- Easy to use and very easy to program.
- Improved hunting on the property, because you put less pressure on the deer (Especially Mature Deer).
FAQ:
Q: What sized images are transferred to the “Home” Camera?
A: A thumbnail of the image is transferred to the “Home” Camera. This is for longer battery life, plus the actual size of the picture is on the SD card in the camera.
Q: What Kind of warranty is there?
A: there is a 1-year warranty with the option to get a 2-year warranty with online registration.
Q: What sized SD cards does it take?
A: It can take a minimum of 2gb and a maximum of 32gb
Q: What accessories come with the camera?
A: A Strap for the camera, and a mounting bracket that you can use with the strap or screw into the tree.
If you have any questions or additional information that you would like to add, please comment below! Make sure to share are subscribe to our Newsletter.
I HADthese camera’s. The idea is great. The camera’s themselves are junk when compared to others in the price range. I took the first set back after one of the cameras wouldn’t work out of the box. After about 2 months I had another stop working completely.
I’ll wait until another manufacturer come out with similar tech before trying again.
Thank you for your feedback!